
Time To Demo Your Skoolie
It’s time to Demo Your Skoolie
Once you have purchased your tiny house on wheels, the natural thing to do is to demo your skoolie. Pull those seats out! Tear up that floor! Rip that ceiling down!
This is where we strongly encourage you to pump the brakes. Spend some time deciding how you want to build your bus and what you want it to look like.
Planning Your Skoolie Build and Demo
Before you have twisted your first nut and bolt or cut the head off of a rusted seat bolt, it would be best to spend some time discussing, drawing out, and planning what you want your tiny-house-on-wheels to be when it grows up.
We will get into much more detail in a different post on the planning process once the demolition is complete.
Before you are ready to demo your skoolie and remove everything down to the shell of the bus, it would be wise to have an idea of what your bus will look like on the inside once you are ready to move in.
Here is a good read on planning and preparation before you start your skoolie build.
Are you going to keep the rear heater and use it for heating?
Are you going to be using any of the school bus seats for passengers seats or benches?
Will you keep or remove the entry steps handlebars?
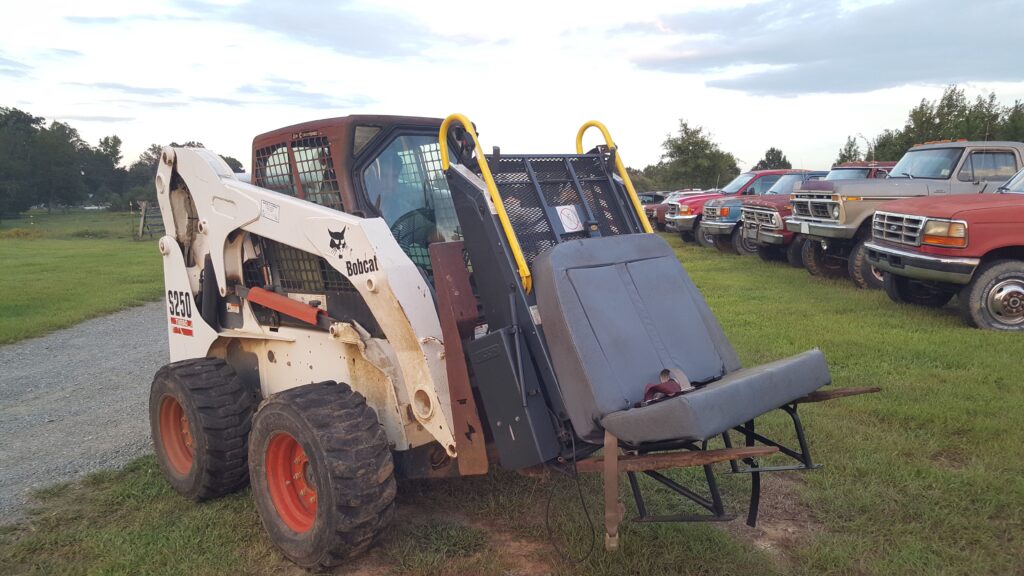
That big and extremely heavy wheelchair lift – can you somehow repurpose it?
It is very easy to start removing things until there is nothing else to remove. Sometimes, it is a good idea to slow down, take a step back, and envision what you want your completed skoolie to look like before you even start.
You may be surprised as to what you may end up wanting to keep instead of throwing everything out.
Go Time – Ready To Demo Your Skoolie
When you have a general idea of how you are going to utilize the living space, it is now “go time”!
- Safety googles – check
- Earplugs – check
- Socket set – check
- Adjustable wrench – check
- Crow-bar – check
- Hammer – check
- Power tools – check (impact drill, reciprocating saw, grinder, Sawzall)
- Demolition Music – check (We recommend some classic rock) (i.e. Metallica, Quiet Riot, Motley Crue, Twisted Sister – something to get your adrenaline and destructive juices flowing)
There you are! You have a crowbar in one hand and an angle grinder in the other hand. You are blasting “Enter Sandman” on your blue-tooth speaker and thinking, you have been waiting for this moment to demo your skoolie and it is finally here! “Where do I start!?”
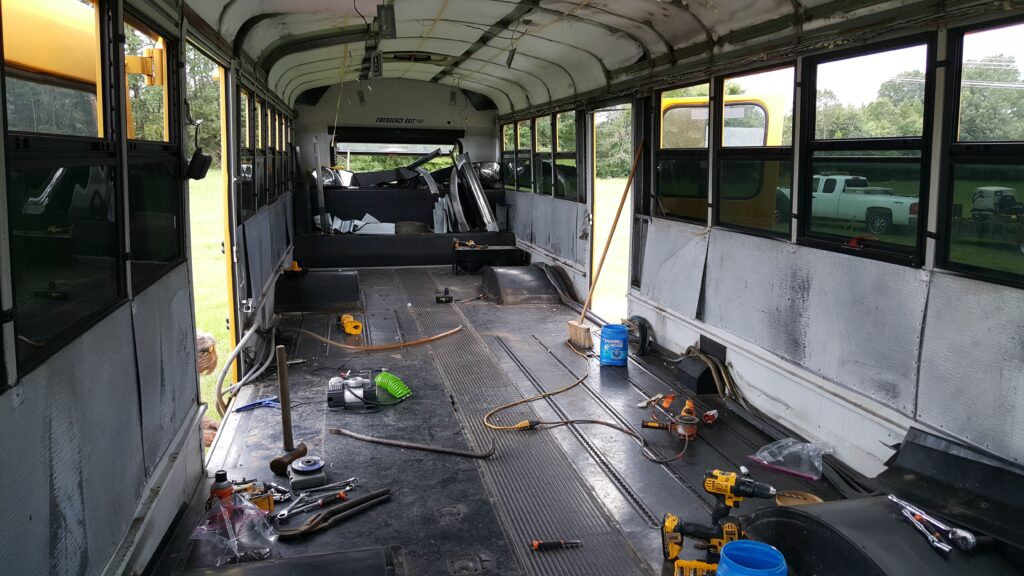
Most people, us included, start with taking out the bench seats. This is naturally the first step in your demo. The seats have to be removed before anything else can be removed.
I suppose you could keep the seats on your bus, however, it would not make for a very comfortable or inviting living space.
We aren’t going to go into detail about how to remove your seats, but we can talk about what to do with the seats, once you have detached them from your floor and chair railing.
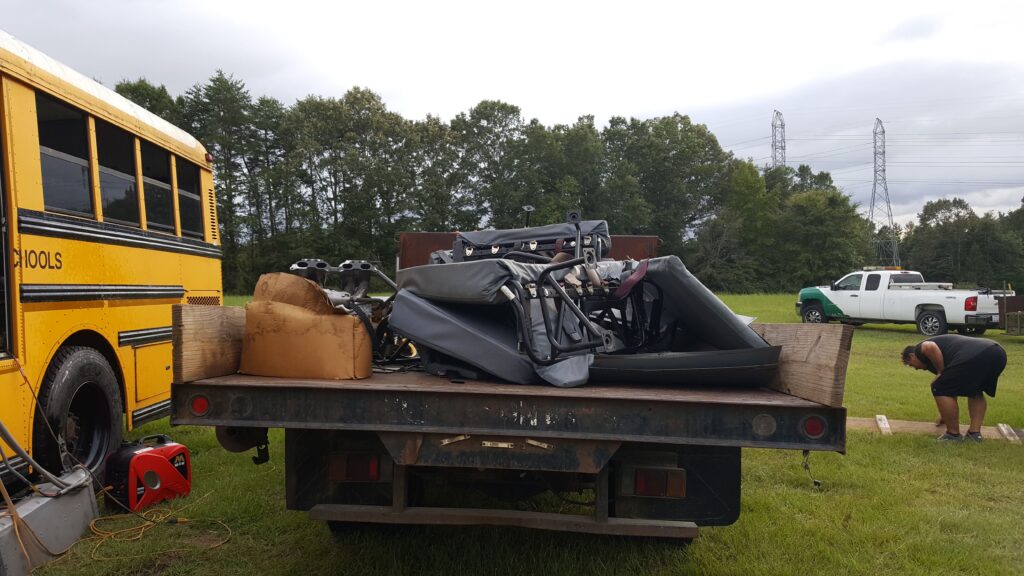
You can simply, as most people do, haul them off to the dump or have your local waste management company come and pick them up from the front of your home by the road.
Some people opt to remove the cushions and sell the metal frames to a scrap metal business and then recycle that money back into your skoolie build. (You may be surprised with how much money you can recuperate from all of the metal you remove from your school bus)
Reuse Some Of Your Seats
We have seen others utilize the metal frames for other imaginative uses for a part of the build. (i.e. rooftop deck or solar panels, support rigging for underbelly storage)
What we did, was donate all of the scrap metal to Don’s cousin for helping us do the demolition. (Don’s cousins, Gene and Brian, were such HUGE help with the tear-out and all of their tools they let us use those four days in North Carolina during Hurricane Florence)
Something to keep in mind here, is do you really want to remove all of the seats? Do you have any potential use for one or two seats to be incorporated into your build and floor plan?
The bench seats do have seat belts, so they may be useful if you have “little ones” and want a safe and legal way of transporting them. Maybe set aside one or two of them just in case you decide to use them.
(Be sure to always check with your local or states DMV regarding legally transporting people in an RV.)
Flooring
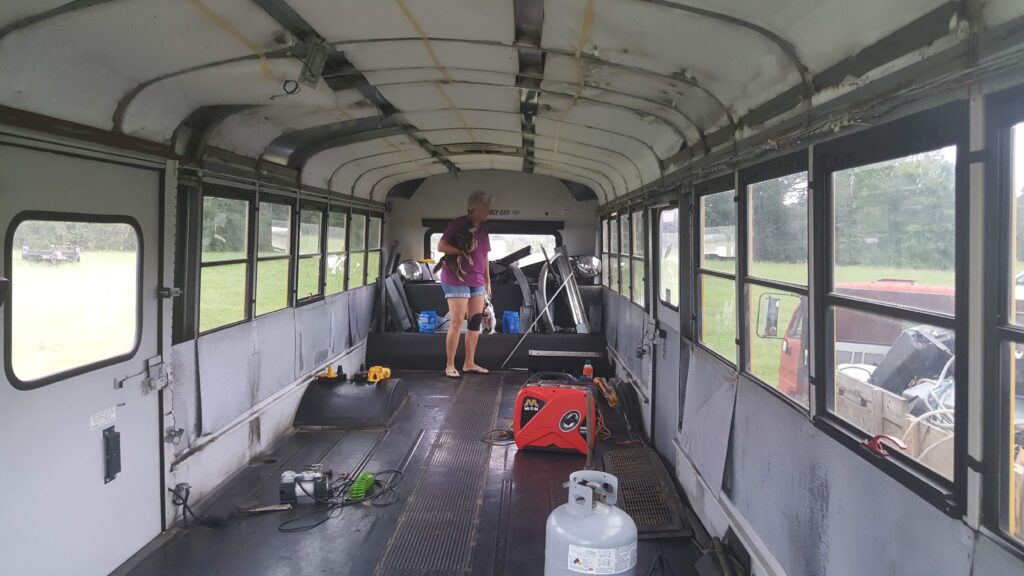
This is an important time in the life of your skoolie. You have removed all of the seats (and wheelchair lift if your bus was equipped and came with one).
Your bus just became a whole lot bigger and your mind starts to race with floor plan possibilities. It is easy to get very excited and want to start building immediately.
Depending on your circumstances and desires to start living in your skoolie as soon as possible, it may be the perfect time for you to start building out.
For many, us included, this was just the first in many more steps to getting this decommissioned school bus into skoolie shape.
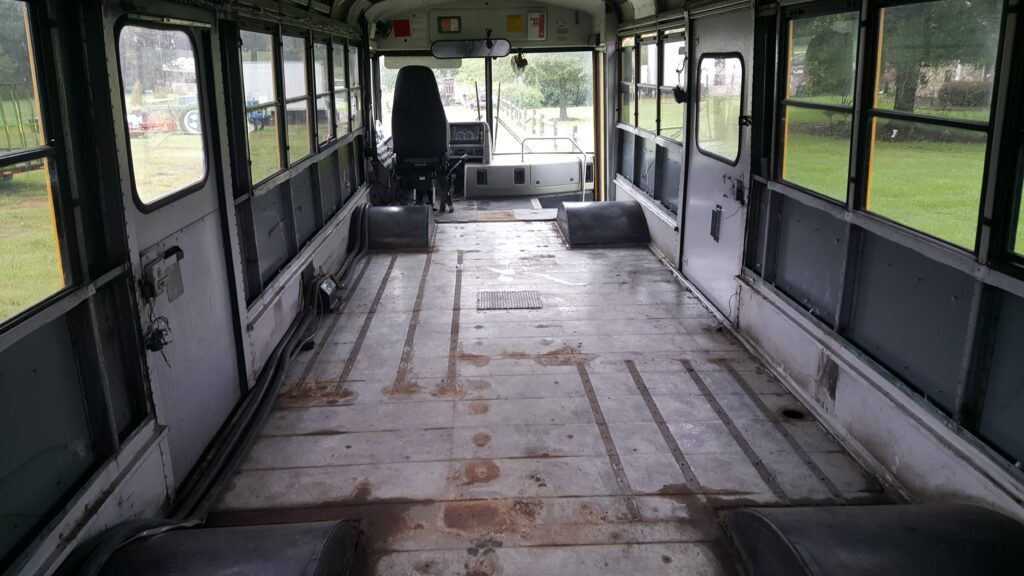
The next natural step in the process to demo your skoolie may be to either:
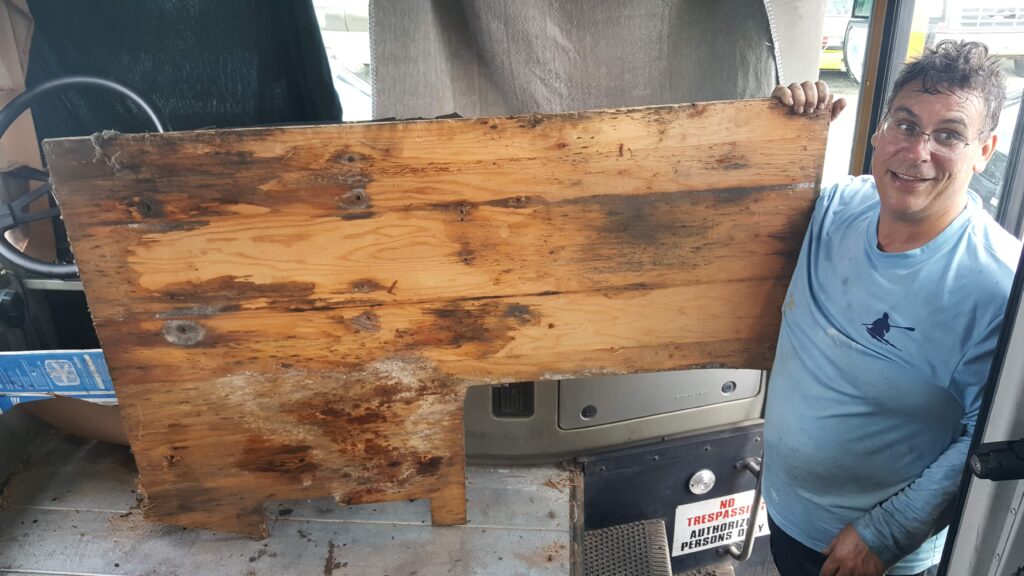
- Remove the rubber and plywood floor.
Or
- Keep the existing floor and build on top of it.
Many people opt to keep the current floor intact and simply build on top of it. They rationalize this decision by concluding that the floor “looks fine” and seems to be in good shape, so why go through all of the work and hassle of tearing it out and then the expense of putting in a new floor.
You should always do what is best for your specific circumstances. We are going to share why we replaced our floor.
First, we will share with you the benefits of replacing the existing floor with new flooring.
Benefits of Removing Your Floor
Determine The Condition Of Your Floor
Tearing up the existing and then replacing your floor will allow you access and evaluation of the condition of your metal floor. You may have looked underneath your bus when you purchased it and did not see any significant rust, but we have witnessed and heard too many bad rusty floor stories to have known better for ourselves.
Personally, we were very fortunate when we tore up our old floor. Our metal was in excellent condition with only a couple of surface rusty spots. Others, however, have discovered advanced and pitted rust on their floors, with some even breaches and holes through the metal floor.
So, if nothing else, this will allow you to treat and repair any rust that may become a problem on several different levels down the road.
Insulate Your Floor
Replacing your floor will allow you to insulate your floor. We have never seen a school bus with an insulated floor before it was converted to a skoolie.
What that means for you, is that unless you are planning on living and staying in a climate that is perfect for your temperature threshold (for us, that would be about 65 degrees) year-round, you may appreciate having your floor insulated to keep your little piggies warm when the temperatures drop drop drop!
Besides the benefits of keeping your bus cooler in the hotter months and warmer in the colder months, a good layer of insulation on your new floor will allow for some sound dampening insulation while driving down the road and being parked as well.
Remember, you are choosing to live in a metal tube. The more you sound insulate, the less of a cave and metal can it will sound like. Besides, sometimes, you may be doing something inside of the bus that you do not want people outside of the bus to hear.
Cleaning Your Floor
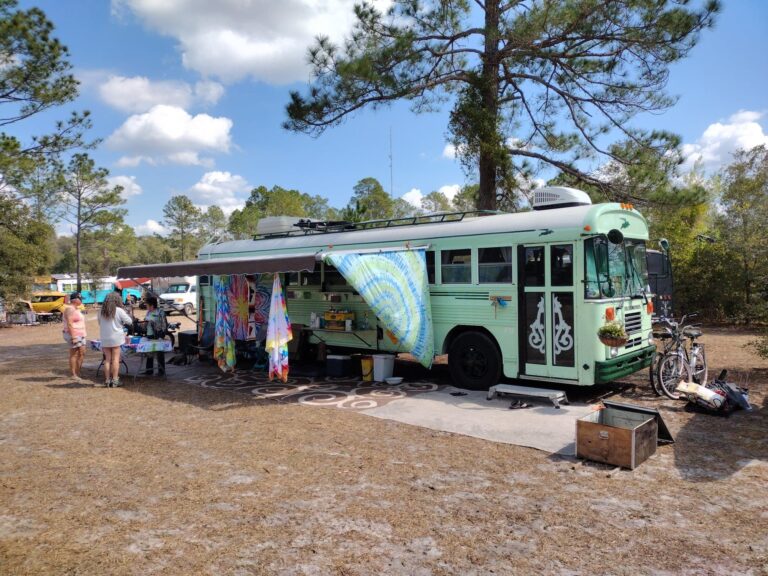
Another advantage of removing the old floor from your school bus is to allow you to do a good, thorough deep cleaning of the bus. Our bus, Caroline, is an ‘04, so she was 14 years old when we purchased her.
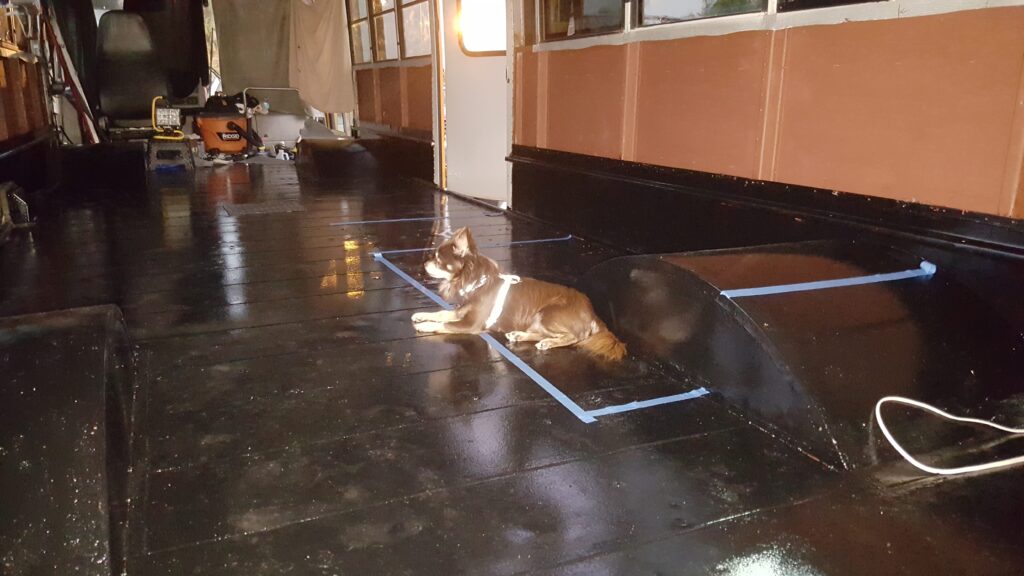
We are so glad we removed as much as we could and cleaned her up as well as we did! It is rather sobering and sometimes quite disgusting what you will find in the crooks and crannies of a school bus floor.
So, do yourself a favor, don that hazmat suit and give your new tiny house on wheels a cleaning she will be proud of!
Bonus Reason For Replacing The Floor
Some who decide to the tiny lifestyle in a skoolie plan on doing so in the northern colder regions. This creates some unique opportunities for them to stay warm in the colder frigid months.
One of our favorite build-out options on a skoolie is a thermally heated subfloor.
What is the sorcery we speak of you ask?
It is a brilliant alternative to keeping your floor and piggies warm by running Pex plumbing water lines throughout the subfloor so as to thermally warm the floor with hot water. There are some really good videos on YouTube to show the installation process as well as the finished product!
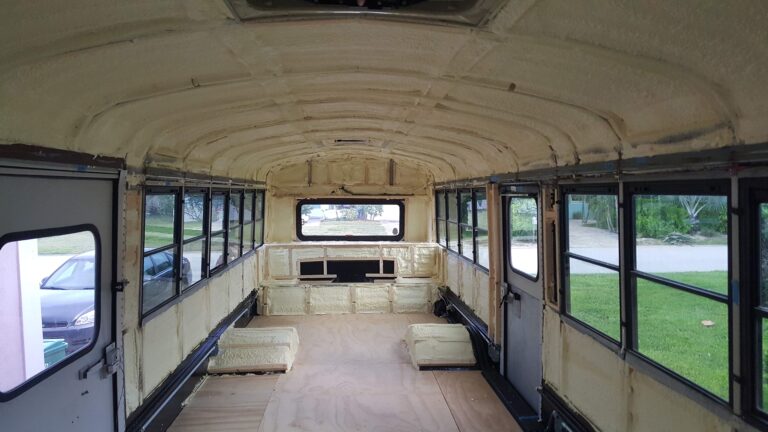
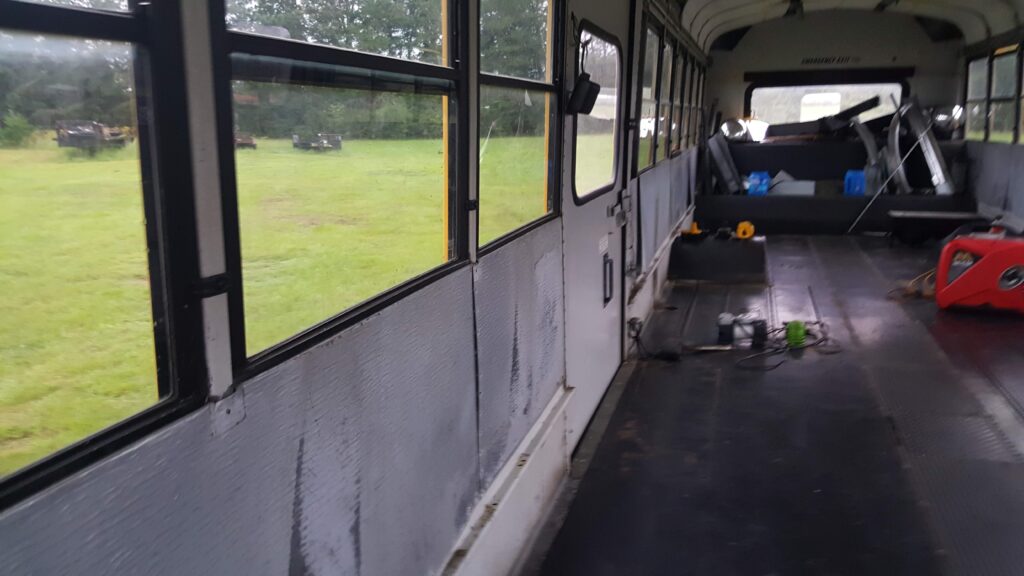
Walls
Once the floor has been dealt with and you have done what you want to do to it, the next step in the process may be removing the current metal walls beneath your windows and above the “seat-rail” which lies about 10-12 inches from the floor.
* Warning*
Do not under any circumstances remove the sidewalls that have a “lipped” rail where the seats attach to it. This part of the wall is structural and may compromise the structural integrity of the walls of your bus if it is removed.
The parts of the wall that is safe to remove are the sheet metal or aluminum above the “seat-rail” up to the bottom lip of the side windows.
Benefits of Removing the Metal Walls in Your Skoolie
The advantages of tearing out and replacing the metal walls are:
- It allows you to insulate the side walls with much superior insulation than the manufacturer has originally installed.
- It allows you to build out your walls without losing any space from wall to wall. Mind you, if you kept the original metal walls on the sides, you would only be losing half of an inch at best.
- Removing the original walls allows you the opportunity to clean, degunk, and debug anything that is in the cavity of the wall below your windows.
- The best argument for removing the metal walls is that this will allow you the best way to check for leaks underneath your windows before the time and expense of building your permanent walls, most likely made out of wood.
It is an awful shame to hear of people who have built their schoolies only to find out afterward that their windows and/or walls have been leaking the entire time, and now have a significant and established mold issue inside of their bus.
Ceiling
The ceiling is a step in the process that we have seen go almost 50/50. It seems as though half the people replace the ceiling. The reasons are pretty simple for keeping it.
Benefits for Keeping Your Skoolie Ceiling
Advantages of keeping the original ceiling:
- Cost-effectiveness. To replace a ceiling on the average bus, you will cost on average hundreds of dollars. Even tongue and groove ceiling costs can add up when considering the amount of wood to cover a 30-40 foot bus.
- Having a metal ceiling has the advantage of using it with magnets to hang things from.
- Some argue that the structural integrity of the bus is more sound.
- While some prefer the look and feel of the original school bus ceiling and the authenticity of the “skoolie” look.
Benefits of Removing Your Skoolie Ceiling
Advantages of replacing the original ceiling:
Not everyone uses pine or cedar tongue and groove ceilings. Some use a luan plywood with moldings to cover the seams. We have seen others remove the original metal ceiling, clean and insulate, and then reinstall the metal ceiling.
One of our favorite ceilings is on a friend of our skoolie that has an old tin-roof ceiling. They repurposed old sheets of metal/tin roof. It is a very rustic and earthy feel. A perfect ceiling for their bus!
Clean, Seal and Insulate Your Ceiling
- Removing the original ceiling will allow you to clean and utilize better insulation material and application.
- We can not stress enough that living on a converted school bus can either be the best experience for nomadic or RV life, or it can be a challenging and uncomfortable one.
The difference between the two is the planning, preparation, and effort put into the build of your tiny home.
- We chose to replace the original ceiling because we liked the look and feel of a tongue and groove ceiling. We knew we wanted to utilize better insulation than what Thomas equipped this bus with originally.
Remember, school busses were built and designed to transport school-aged children to and from school and school-related activities.
The maximum “ride-time” for these students was from 15 minutes to 45 minutes commute times. They were not built and insulated for maximum comfort and warmth/cooling.
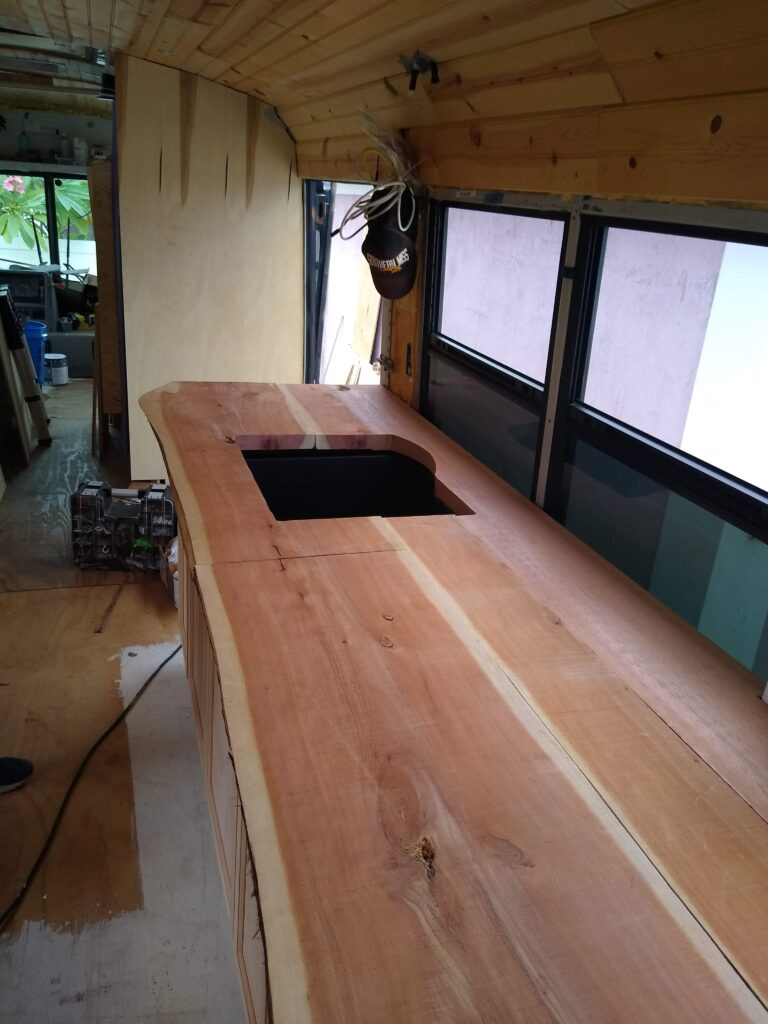
We went with closed-cell spray foam insulation at approx 2” thickness. We then applied a layer of reflectix insulation before installing our tongue and groove pine ceiling.
In this next skoolie build we will use a 2” rigid foam board for both the ceiling as well as the walls.
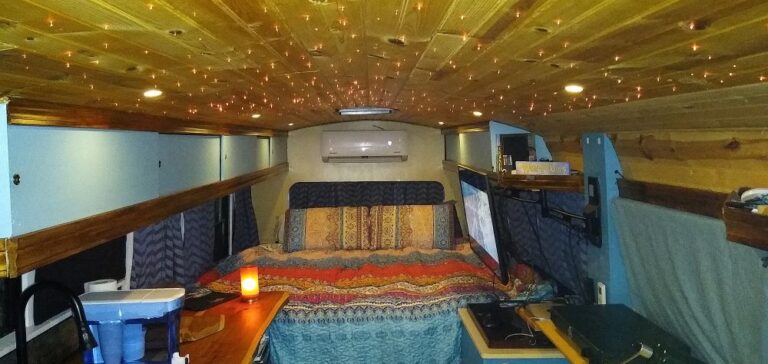
One of the unique things we added to our ceiling was a “starry starry night” feature. We meticulously drilled and installed approx 440 fiber optic strands into a 9’X5’ section of our ceiling that gives us the experience of having a star-lit sky inside of our bus.
The main point for this part of your skoolie build, and really, every other aspect and part of your skoolie build is, there is no one way to do things.
The greatest part of converting a school bus to an RV is that you build your bus to your specifications, interests, style, and budget!
The Extras
There are a few items and areas inside of the school bus you may or may not decide to keep before you demo your skoolie.
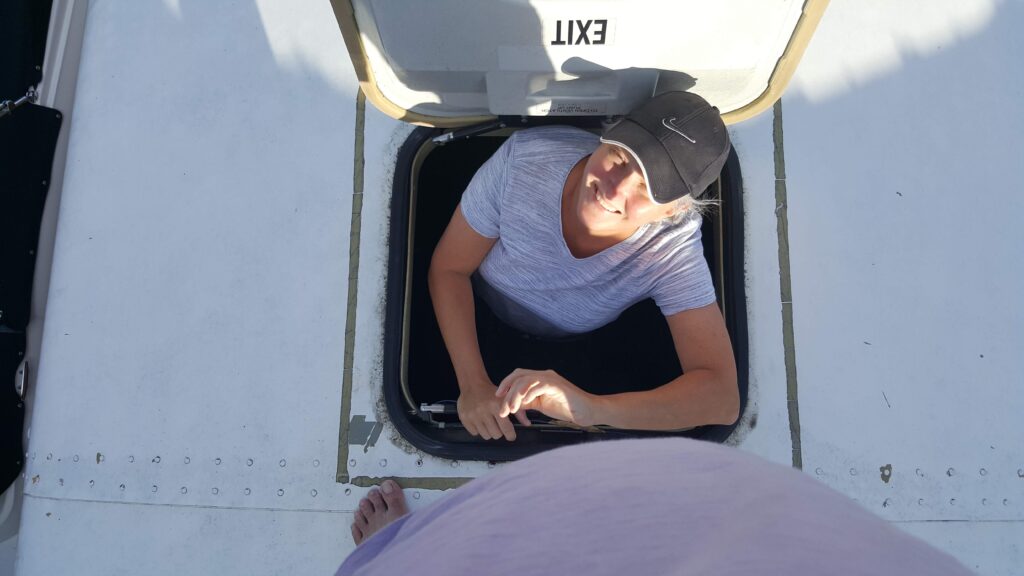
Emergency Exits
Some opt to keep the original emergency exits in their bus, while others use that open space/hole for fans, skylights, or rooftop portals.
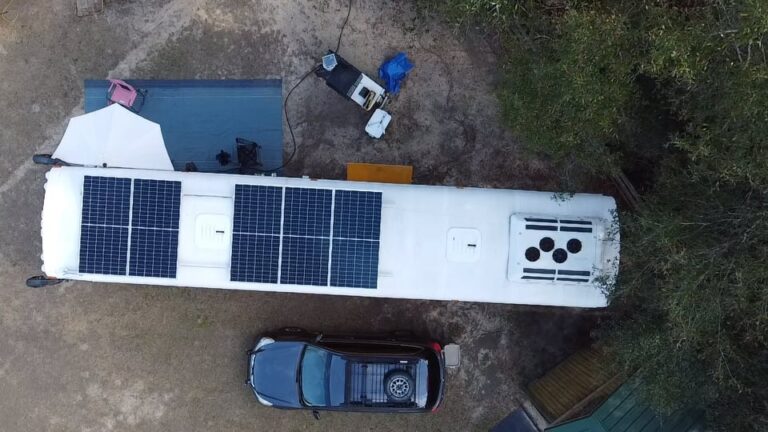
Our Thomas bus was equipped originally with two emergency exits approximately 17-18 feet apart. We knew we wanted to install two MaxxAir fans on our bus so that we could have the option of utilizing the intake/outtake features of those fans.
One fan could be pulling air into the bus, while the other fan could be pushing air out, so as to create a wind tunnel effect inside of the bus.
We also knew we wanted a rooftop deck that could only be accessed by the inside of the bus.
So, what we did was use the space that the emergency exit at the front of the bus for our skylight/rooftop access hatch and the rear emergency exit we utilized as one of the MaxxAir fan spots.
We will share in another blog post how and why we used those spaces the way we did.
Front and Rear Caps
A part of the demo and build-out process that gets very little attention typically is the rear and forward interior cap panels. Replacing and rebuilding these areas can be somewhat labor intensive and tricky. Both are large modular pieces of steel.
It is an encumbering process to remove them. However, once removed, it allows for the potential of lots of storage in the front and rear of the bus.
The removal of these panels also allows you access to the front and rear “bus light” and electrical should you decide to remove those lights.
Windows
Before you completely demo your skoolie, think about keeping those windows just where they are. We have seen many people automatically remove every window in their bus in the idealistic hopes that this will eliminate any current or future water leaks.
While we understand and would not dissuade anyone from doing what they think is best for their specific bus, this may not always be as necessary as logic may dictate.
Our bus, for instance, had no obvious leaks around the windows. What we did though, was to remove all of the old dry window caulking and re-caulked the windows with 3m Marine 5200 black sealant.
This sealant is worth its weight in skoolie gold! We have had no leaks and have since used this sealant for every seam, repair, hold the screw, and bolt that penetrates the skin or metal of our bus.
It is the best product for sealing in our opinion. Mind you, it is rather expensive but definitely worth it.
This Was A Great Idea
When you are ready to demo your skoolie, try to think outside of the box for interesting and unique design features. One of the coolest things we did during the renovation of our skoolie was to remove the two emergency escape windows and swap them out with regular windows.

We didn’t get rid of them though, no, we relocated them to the bedroom of our bus so we could open them up while we lay in bed on cool nights. They were awning types of windows, so it not only allowed cool fresh air into our bus, it looked really nice too!
Entry Door – Demo Your Skoolie
Whether or not you decide to keep your school bus entry door is entirely up to you and makes no difference in how awesome your skoolie build is in the end.
It is your design and it is what you like, love, and want in your tiny house on wheels. For us, we love the look of our school bus doors, and keeping them was no question.
We are starting to consider whether or not we are going to alter their functionality of them by making them one swing door as opposed to two swinging opening doors. Stay tuned for that outcome.
We have seen use a storm door as their entry door which would allow it to double as a screen door when parked.
Keep in mind, however, the security of a storm door may be something you should consider.
The Wrap Up to Demo Your Skoolie
Tearing out the seats, floor, ceiling, walls, and anything else you don
T want in your bus should be a time of joy and fun! Sure, it’s hard work, but this is the moment you have been waiting for!
Whatever you chose to do, choose it because it best fits your needs and style!