The Best Tips for Sealing and Cleaning Your Skoolie
The best way for sealing and cleaning your skoolie is to just get down and dirty and clean that sucker up! If you have seen what the floor, walls, and ceiling looks like underneath all of that metal and plywood, you just might hurl!
Sealing and Cleaning Your Skoolie
Sealing and cleaning your skoolie for the build-out may not seem like the sexiest or most exciting part of your skoolie project, but it is one of the most important steps.
Your skoolie floor walls and ceiling are, after all, the foundation of your skoolie build.
As you get into the “meaty” part of your build, which is pretty much everything after the demo stage, you will quickly come to realize that from here on out, there isn’t simply a ‘one project or stage after the other”.
Yes, that’s right, from here on out, you are likely going to be working on more than one stage of your skoolie project, section, phase, whatever you want to call it, but you will be doing more than one thing at once.
Multitasking is the name of the game from here out. We will get into more of that later on.
Now that you have your bus gutted, demoed and everything is torn out that you do not plan on keeping in its original state, it’s time to prep your bus for the really fun part…. Building it!
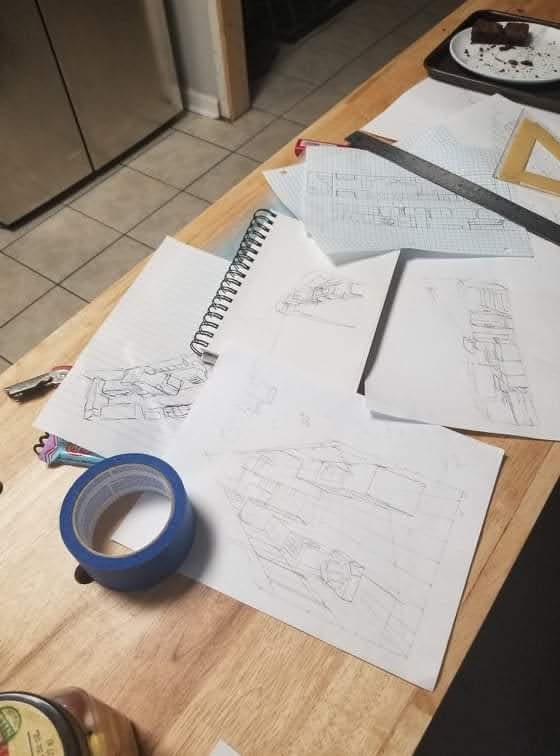
This part is entirely up to you as far as how meticulous you want to be before building your home out of this retired old school bus, or how much time, expertise, equipment, and money you want to spend.
For us, we viewed this part of our build as getting the “foundation” poured and just right before building our tiny home.
Cleaning
Our first step after the demo was a thorough cleaning. We got down and dirty with this part of the build. Literally, we got dirty! Filthy actually!
Mind you, depending on how old your bus is, how many miles are on it, or better yet, how many hours are on it, some buses are going to be dirtier than others.
Cleaning your skoolie may be easier or harder depending on how many hours of service it has.
We found dead bugs, gum, money, toys, candy, goop, gunk, and general yuckiness throughout our bus. We wanted to know our bus was clean through and throughout when we were ready to put insulation and wood down for the floors and walls.
Again, for this initial process of prep, it all comes down to how “clean” you want the bus before you start your build-out.
If your floor has rust on it or any part of your bus for that matter, you are definitely going to want to address that before your build begins. Depending on how advanced, if any at all, the rust on your floors and/or walls will dictate how you address it.
We will talk about cleaning your skoolie floor and treating any rust you may have in just a little bit.
Cleaning the Goop
Goop and slimy sticky yuk. Oh, don’t fool yourself, it’s in your skoolie too. You may not have found it yet, but it’s there! Cleaning your skoolie from this gooey gunk will make your insulation and flooring fit and lay much better.
It’s true that when you put your new floor insulation and plywood down, it will be covered up and all but forgotten. Unless you are like us and know it is still there. Lurking and oozing beneath your feet or in the walls right where you lay your head at night.
We couldn’t leave it on the bus. We couldn’t handle the idea of that nasty gooey goop.
Anywhere there is a plastic or vinyl coating on anything, there is some form of goopy goop on the other side of it.
Removing Anything That Isn’t Metal
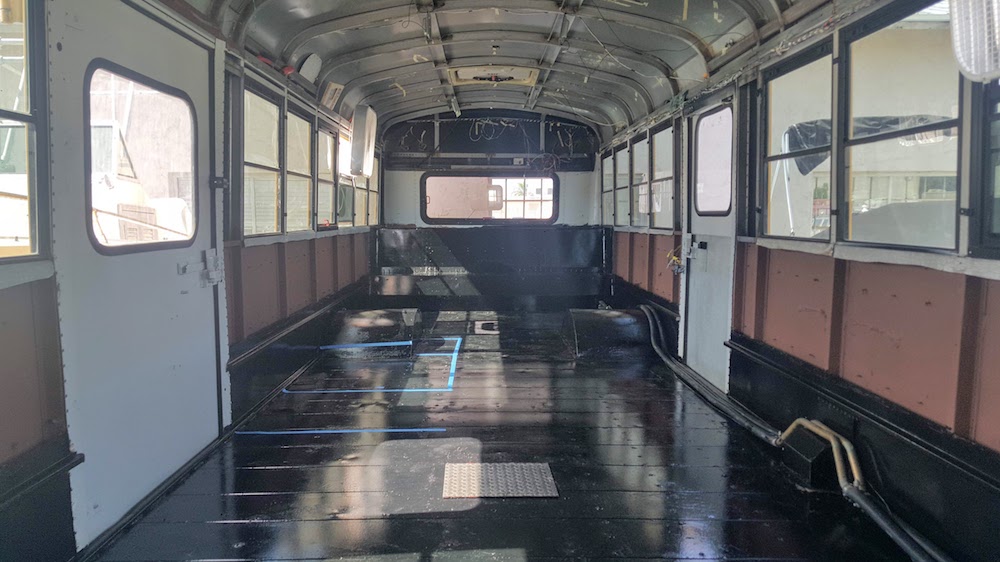
When we seal and prep our conversions for a build, we take it down to the bare metal. We remove the tape, insulation, and anything that isn’t metal and a structural part of the bus.
By doing this, we know we are creating a clean and fresh slate for our build. Cleaning your skoolie floor this way leaves no room for mistakes.
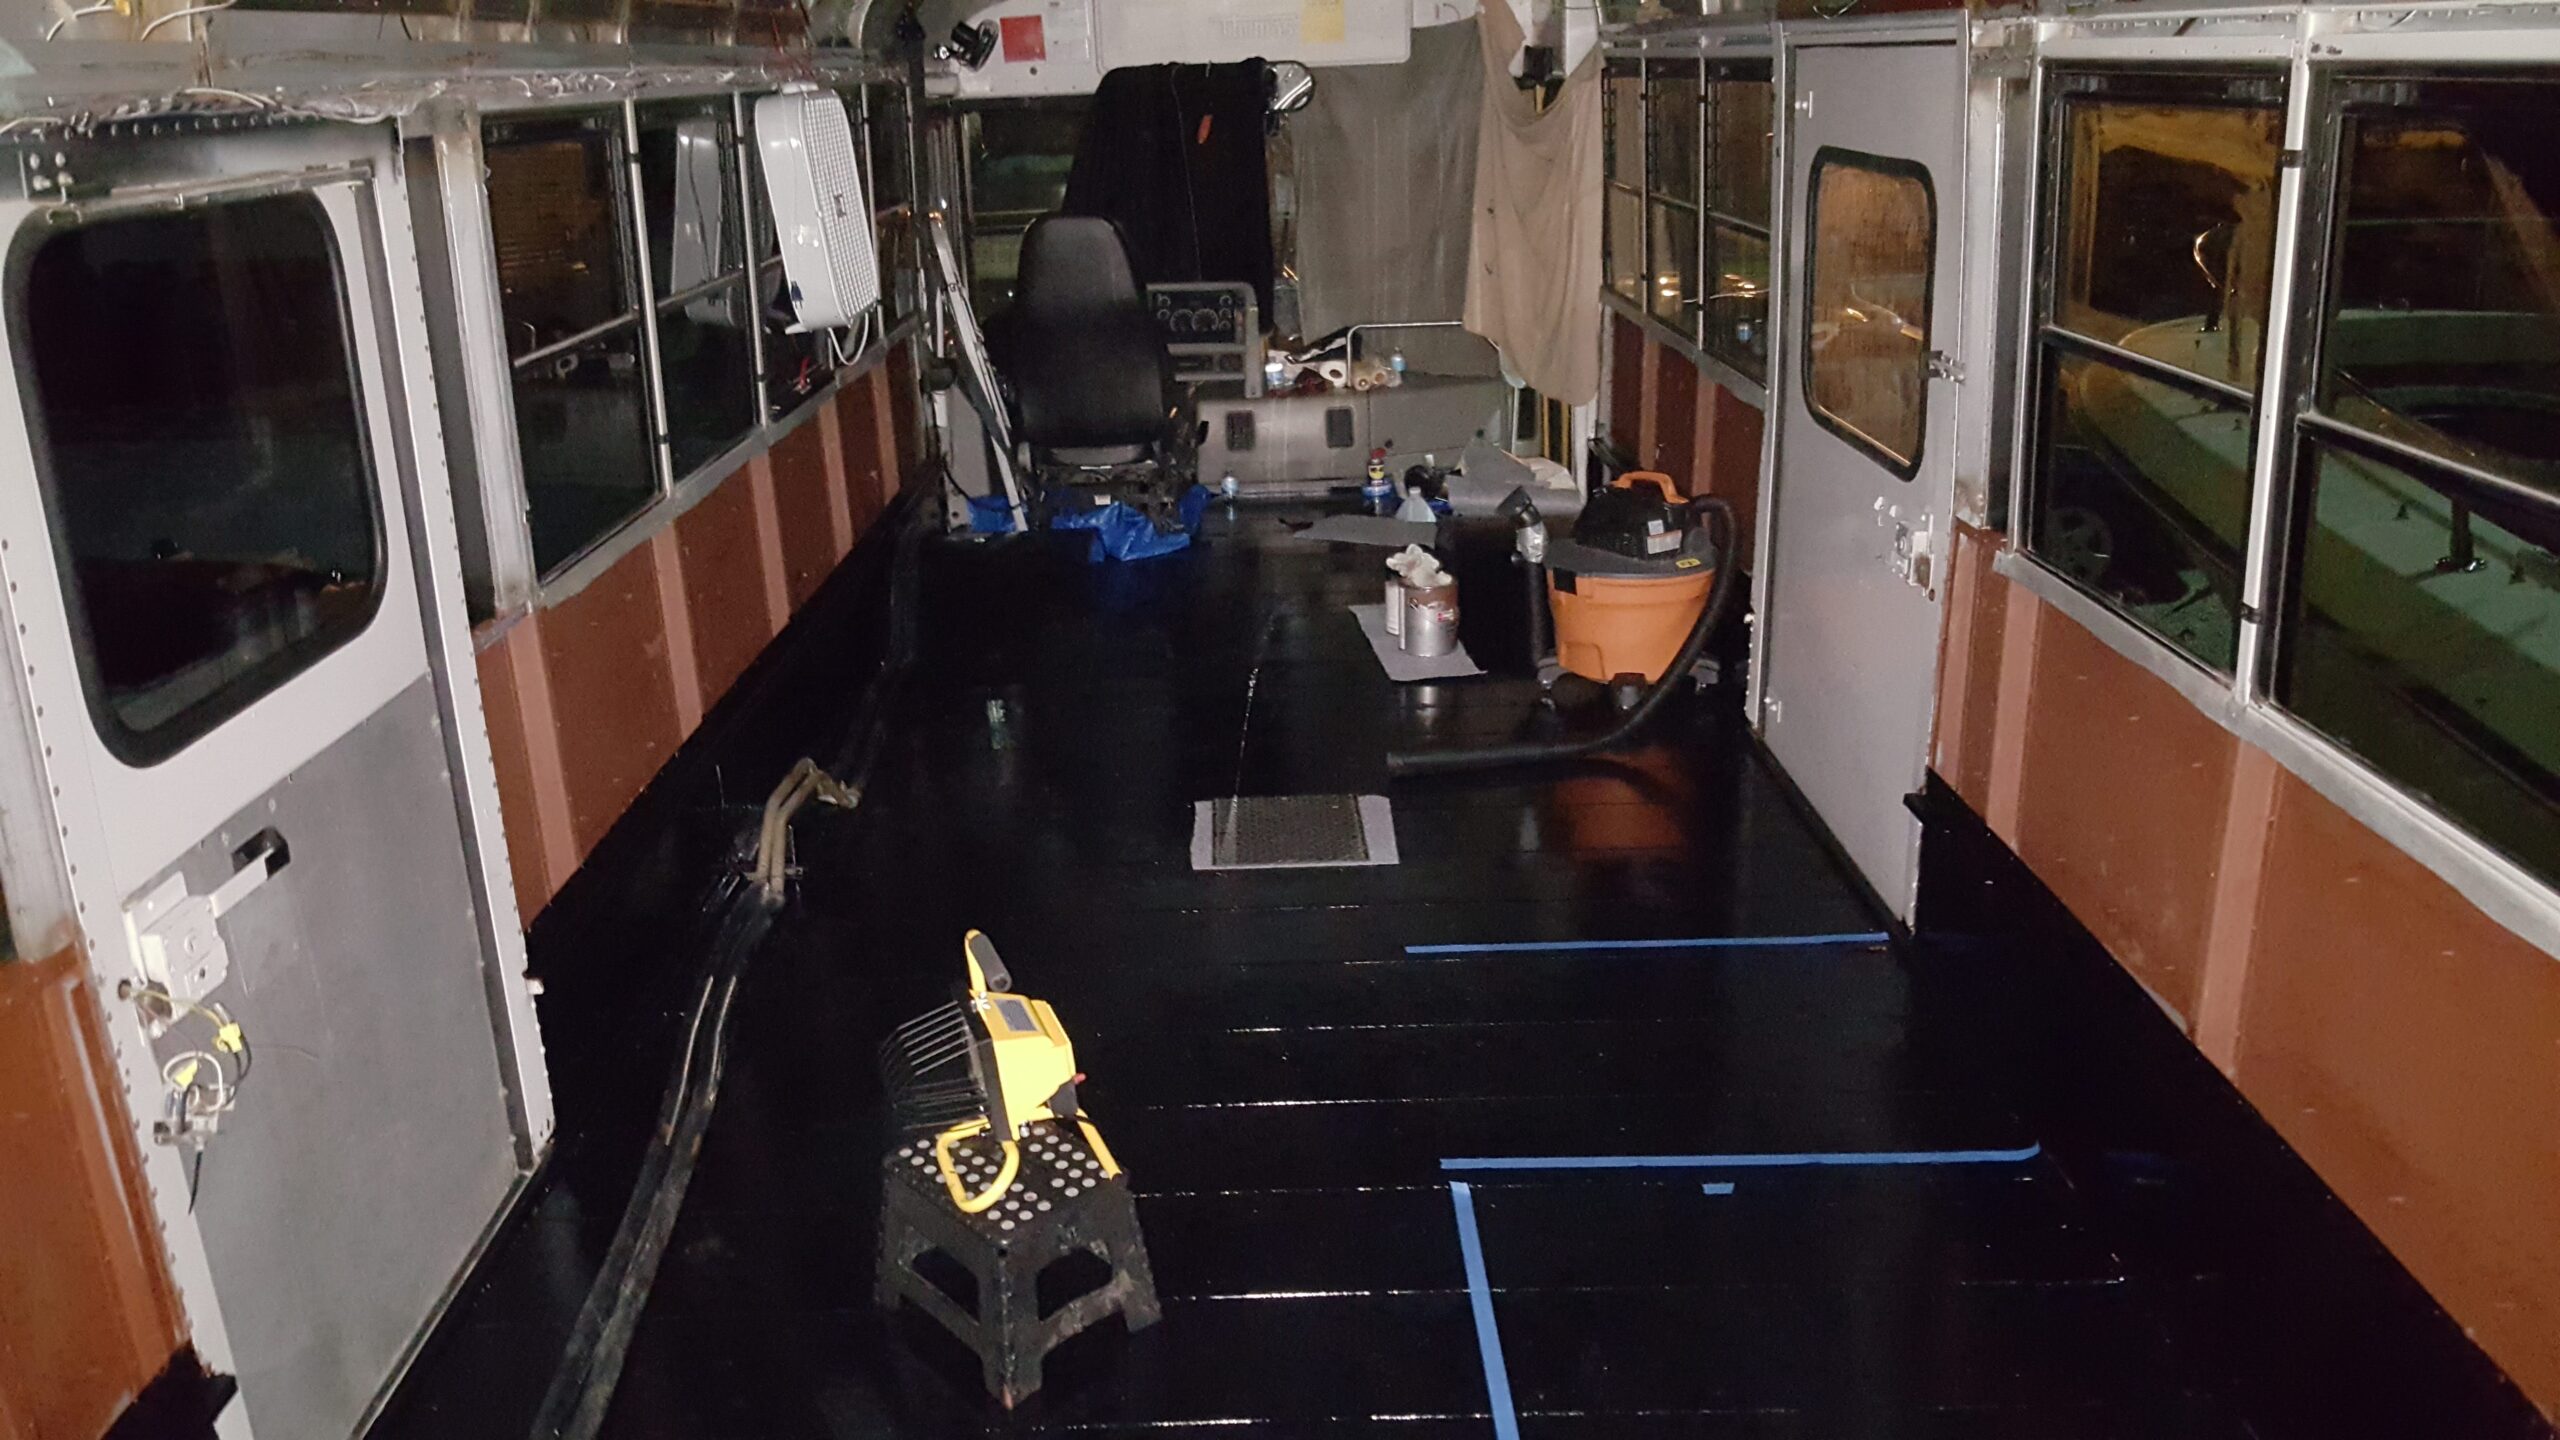
Vacuum
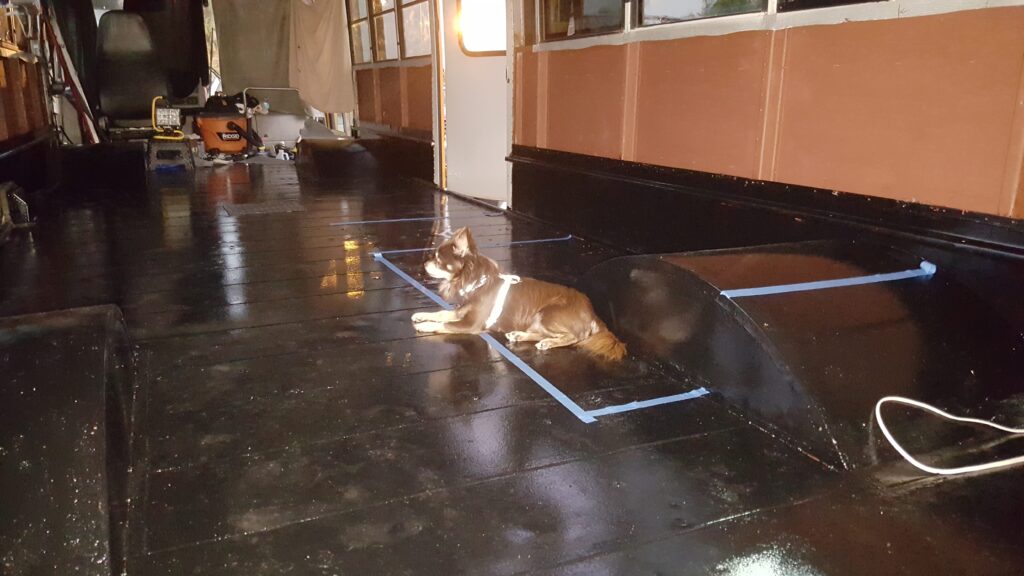
Once you have cleaned, de-gunked, and removed everything that needs to be removed to start your build, then it is time to get out that shop vac and vacuum the floor so there is no dust, dirt, goop, or anything other than metal.
Cleaning your skoolie floor with a vacuum cleaner ensures that all of the small specks of dust are gone! This makes everything going forward much easier.
This will make the next step in sealing and prepping your skoolie much cleaner and easier.
Wash
A good power nozzle on a garden hose with city water pressure should suffice for this step. A square head floor broom and a bucket of soapy water.
Wash that floor and rinse it out like you were planning on eating off of it. Cleaning your skoolie floor thoroughly is the best way to ensure your build is built on a solid foundation.
Once the floor has completely dried, then you are ready to take on the rust on the floor or walls.
Rusty Floors
It doesn’t matter if you purchase your bus from Arizona, Florida, California, or Michigan, chances are, there is going to be some form of rust either on the underside of the bus chassis, the entry steps, the wheel wells, or the floor underneath the plywood.
It rains everywhere in North America. With rain comes wet shoes from the students who have been riding these buses for years. It doesn’t matter where you live, when water comes into contact with metal and is left alone, it will rust.

So, if you happen to get one of those rare unicorn buses with no rust anywhere, count yourself the exception to the rule. For the rest of us, let’s take a look at how to address and correct any rust you might have on the floor of your skoolie.
Regardless if you have no rust or lots of rust, cleaning your skoolie floor before and after treating any rust is imperative.
What causes rust and Why It Should Be Treated?
Rust is at its chemical root, hydrated iron oxide or Fe2O3. It is created when iron or metal reacts with water, H2O, and oxygen, O2.
Rust is to metal or skoolies as cancer is to the human body. Unless it is aggressively and deliberately dealt with, it will continue to grow and spread.
There are some easy, but meticulous ways to deal with rust in your skoolie project. When you are sealing and prepping your floor for your build, there are two main ways to resolve any rust issues.
Always ensure that cleaning your skoolie floor before treating it with any chemicals, primer or paint.
Treat it Chemically
There is a chemical available to you at most hardware stores that goes by the name Ospho. It is a phosphoric-based acid coupled with dichromate and wetting agents.
The Ospho chemically converts the iron oxide, Fe3O2, into iron phosphate, Fe3PO4. Iron phosphate is an inorganic compound that is very hard and black in color. It will not rust once the chemical change has occurred.
This application should be done only after cleaning your skoolie floor.
Remove the Rust
If you prefer not to use chemicals to treat the rust on your skoolie floor, then you may choose to treat it as old school. Simply remove it.
Surface Rust:
Surface rust is by far the easiest to remedy. Some sanding with coarse-grit sandpaper, wire wheel, or sponge should do the trick. The key here is to get rid of the red, brown, or orange-colored rust that has formed on the metal.
Once you have sanded or polished away the rust on your skoolie floor, cleaning your skoolie floor immediately is next. Now you can cover it with some type of rust inhibitor. We used Rustoleum paint.
Established or Pitted Rust:
For more advanced rust, you are going to want to use the procedure for surface rust, but with a much more aggressive approach. You may choose to get a grinder with a grinding wheel specifically for grinding out rust.
To get into small areas, use a “mouse” sander or an oscillating tool with a carbide rasp or sanding pad attachment.
Once the rust has been removed to where there is only shiny metal, cleaning your skoolie floor from all of the dust and flakey rust is important.
Now, once again, cover the treated area with some form of metal protection like Rustoleum, Krylon, or Boeshield. There are numerous brands that are effective. Choose what you feel most comfortable with.
Rust Holes
For rust that has advanced to the point of rotting through the metal enough to cause holes or gaps in seams, you will need to repeat the steps for the established or pitted rust, and then do some metal patch repair or fabrication depending on much damage the rust caused.
Cleaning your skoolie floor at this point ios a moot point. Before cleaning your skoolie, you are going to have to address any rust that may be present.
* PRO TIP
*This is why it is so important to do a proper inspection of your bus prior to purchasing. Especially if you purchase a bus from an area that has natural salt on the roads or salt due to weather.Seat Holes
Removing the seats from your skoolie floor is one of the most anticipated and rewarding accomplishments of your skoolie build. At least it is for us!
Having the rubber floor and plywood removed to reveal that metal floor is another groundbreaking accomplishment for those who are brave enough to take on a DIY skoolie project on their own.
Now that you have removed all 29 of those bench seats and you have torn up that nasty rubber and plywood floor, what do you see on your nice clean metal floor? Holes! Lots and lots of holes!
It looks like a metal version of Swiss Cheese on your floor.
What to do? What to do? Cover them up? Maybe…
The first thing on your agenda now would be cleaning your skoolie floor!
We would recommend covering those holes, at the very least, covering most of them.
Covering the Holes
After cleaning your skoolie you are going to want to address all of the holes in your clean metal floor from all of those seats you removed. There are lots of efficient ways of covering those holes.
There are right ways and wrong ways to do just about anything while building out a skoolie. Avoid some costly mistakes by reading this. 13 Worst Skoolie Conversion Mistakes.
Pennies
Gluing pennies over the holes. The holes are about ⅜ of an inch in most busses, so a penny is more than adequate to cover it up with some good sealant such as Liquid Nails or Marine Caulk 5200.
This is a quick and easy solution to covering all of those holes in the outside world under your skoolie.
Since you would be using an adhesive, it is advisable that cleaning your skoolie floor very well before using adhesives. Adhesives and dirt do not meld very well together!
JB Weld
Using JBWeld to fill and cover the holes is a very effective and permanent solution. This is the method we used on Caroline. JBWeld Steel Stick is a two-part epoxy-like putty.
Once it hardens, it is as hard and good as steel. We used this stuff on several parts of our build.
This method should only be considered after cleaning your skoolie floor very well! Do this step before priming and painting your floor.
Welding
Welding all of those holes closed would be an option. A very tedious and laborious option. If you are skilled enough in welding and have the means to do so, this is a surefire way of sealing those holes up for good.
Compared to the other applications for dealing with seat holes, this may seem like a time-suck and overkill.
Leave A Few
After cleaning your skoolie floor, there is a pretty sound argument out there in the skoolie community of whether or not to seal up all of the holes that used to bolt those bench seats in.
What if your bus springs a leak in your plumbing? Even worse, what if your water tank springs a leak, and now you have up to 100 or more gallons of water spilling into your skoolies interior?
A few holes in your floor *underneath your plywood and finished floor, of course, might not be so bad to have now in the event a plumbing emergency occurs.
This is another part of your build, where the options are many and it boils down to what you want for your build and what best fits your particular needs.
Painting the Floor
Your floor, walls, and ceiling are now clean and ready for the next step in your skoolie project. Cleaning your skoolie prior to these steps will make this process much more enjoyable for you and anyone helping you!
If you are inclined to paint the bare metal of the interior of your bus, this is the time to do it. Keep in mind though, if there is no rust on the inside of your ten-year-old or older bus, then painting may be a step you can skip.
For us, we liked the idea of a fresh coat of primer and paint underneath our walls. It just “felt good” to us knowing we have a good layer of protection for our interior metal.
Primer
If you are inclined to paint the interior metal of your floors, walls, and ceiling, then putting a layer of primer is a good idea. This should be done after cleaning your skoolie floor of course!
Especially if you have treated any rust areas, then a good primer is highly recommended. We like the self-etching Rustoleum primer. It does a great job of protecting the metal and leaves a great surface for a finish coat to adhere to.
Top Coat
Putting a topcoat or finish coat of Rustoleum or interior metal paint leaves your building surface clean and ready for the best part of your build. Cleaning your skoolie before this step will make it much smoother even when lying your floor.
Walls
Are you going to remove the metal walls underneath your windows and replace them with something more aesthetic? Are you going to upgrade the wall insulation from the minimal insulation the manufacturer installed currently on your bus?
Whether you replace or remove the walls or not, just be sure not to remove the walls below the “chair rail”. As we have mentioned already, this part of the wall is structural and you should keep this intact.
When sealing and prepping the interior walls, keep in mind that those rub rails on the exterior of your bus are either riveted or screwed on. They are not waterproof and water can leak into the interior of your walls.
If you do not want this happening, then sealing each one of those screws, rivets or joints would be a great idea. This is the time to do it, otherwise, you may not have access to it once you start building walls.
Windows – Cleaning Your Skoolie
This would be the ideal time to decide what you are going to do with the windows on your bus. Are you planning on keeping all of them or are you going to be covering some of them up?
Regardless of how many you plan on keeping if you are only keeping one, this is the ideal time to determine if the seals and caulking around that window are sufficient to keep rain and moisture on the outside instead of the inside of your tiny home.
This is a part of cleaning your skoolie that will pay dividends in the future!
Close the windows and go get your favorite water hose and a spraying nozzle. A nozzle that will allow sufficient pressure to emulate the nastiest of storms you may encounter during your travels.
Give your bus a good watering and immediately, have someone on the inside of the bus looking for leaky windows.
If none are leaking, then congratulations! Whether they are leaking or not, this is a good time to consider replacing the seals and recaulking your windows.
Whatever your preferred brand or method of sealing your windows, we recommend 3m Marine 5200. It comes in black or white. We used black since our window frames are already black.
A soundly sealed window is worth its weight in gold. Especially down the road when removing or replacing your windows will be much more of a chore due to build-out.
Roof and Ceiling – Cleaning Your Skoolie
Before you start to put up that awesome-looking cedar tongue and groove. Before you have an amazing Tiny Starry Ceiling installed. Take the time to make sure your roof is sealed and leakproof. Cleaning your skoolie is just as important for the ceiling as it was for the floor.
Get up on top of your bus and look at the overlapping seams of the sheet metal. My guess is there is some dry-rotting of the sealant that could use a fresh bead of sealant.
Our go-to sealant, especially for the exterior is 3M 5200 Marine caulk. This stuff has been as good as it gets for us for sealing our windows, vents, and anything else we installed on the exterior of our bus.
Wrap Up To Sealing and Cleaning Your Skoolie
Taking a little bit of time for sealing and cleaning your skoolie for the build is a tasking and tedious step. It is one however, that is oh-so-worth it.
Remember, this is going to be your home. A tiny home albeit, but your home all the same. Do yourself the favor of prepping and cleaning your skoolie home properly. You will have peace of mind and no water leaks down the road!
If there is something we have overlooked, please let us know by commenting below.
We look forward to connecting with you!